

You can get your semester into Google Calendar three ways: subscribe to an LMS calendar feed, import an .ics or .csv file, or build recurring events by hand. Subscribing wins when your school offers it, because the feed updates automatically whenever a professor changes a room or cancels class, while an import just sits there as a snapshot.
Here's the breakdown:
- Subscribe to a live feed (Canvas, Blackboard, or your portal) — best when available, since it syncs on its own.
- Import a .ics or .csv file — a solid backup when no feed exists, but it's frozen the moment you upload it.
- Create recurring events manually — slowest to set up, but gives you full control over names, locations, and reminders.
Whichever path you take, set a recurrence end date matching your semester's last day. Skip that step and your Tuesday/Thursday chemistry lecture will keep showing up on your calendar into next summer.
Key Takeaways
Subscribing to your school's LMS calendar feed syncs class schedules automatically, while manual entries and file imports both require a set recurrence end date to avoid indefinite repeats.
| Point | Details |
|---|---|
| Subscribe when possible | An LMS feed from Canvas or Blackboard updates automatically, unlike a static import. |
| Set recurrence end dates | Always set an explicit "Ends" date matching your semester's last class day. |
| Match CSV headers exactly | Google Calendar imports need Subject and Start Date at minimum, with proper MM/DD/YYYY formatting. |
| Separate your class calendar | A dedicated "Classes" calendar makes color-coding, sharing, and deleting entries safer. |
| Let Semesterflow parse your syllabus | Semesterflow uploads a syllabus and syncs classes, assignments, and exams to Google Calendar automatically. |
Table of Contents
- Method 1: Subscribe to a Live LMS Calendar Feed
- Importing .ics and .csv Files: Steps and Formatting Rules
- Building Recurring Class Events by Hand
- Automation Options: Extensions, Scripts, and Spreadsheets
- Keeping Your Semester Calendar Organized
- Fixing Common Schedule Sync Problems
- Why Semesterflow Handles This Faster Than Any Manual Method
- Skip the Manual Setup Entirely With Semesterflow
- Sources
Method 1: Subscribe to a Live LMS Calendar Feed
This is the fastest route, and most students never realize their school already built it for them. A calendar feed is a URL that Google Calendar checks periodically and refreshes on its own, so once it's connected, you're mostly done thinking about it for the semester.
Finding your feed URL in Canvas
- Log into Canvas and click the Calendar icon in the left sidebar.
- Look for a Calendar Feed link, usually in the bottom right corner of the calendar view.
- Click it, then copy the URL it generates. It will look like a long string ending in
.ics.
Finding your feed URL in Blackboard
- Open the Calendar tool from your course menu or global navigation.
- Look for Share Calendar or an iCal feed option, depending on your Blackboard version.
- Copy the generated link.
Connecting the feed to Google Calendar
- Open Google Calendar on desktop (this doesn't work from the mobile app).
- On the left side, find Other calendars and click the plus icon.
- Select From URL.
- Paste the feed link you copied from Canvas or Blackboard.
- Click Add Calendar.
Give it a minute, then check the sidebar under "Other calendars." Your school's calendar should appear as its own entry, separate from your personal one.
A subscribed feed is read-only. You can't drag an event to a new time or edit its description directly in Google Calendar, because the source of truth lives on the LMS side, not yours. That's actually a feature, not a limitation: it means when your professor moves a midterm, the change appears on your calendar without you lifting a finger.
Google doesn't refresh subscribed calendars instantly. Updates can take several hours to show up, sometimes closer to a day, depending on Google's polling schedule for that feed. If something looks stale, three days after a known schedule change, don't panic. Remove the calendar subscription and re-add it using the same URL. That forces an immediate refresh.
Pro Tip: Bookmark your feed URL somewhere safe, like a notes app, before you close the LMS tab. If you ever need to reconnect the feed on a new device, hunting through Canvas menus again wastes time you don't have during finals week.
Before you trust the feed and move on, run this quick check:
- Confirm your actual class meeting times appear, not just a generic "Course Homepage" placeholder event.
- Look for at least one assignment or due date on the feed, if your instructor posts them to the Canvas calendar. Not every professor does.
- Check that room numbers show up correctly, especially for classes that recently switched buildings.
- Verify the feed includes the full semester, not just the current week.
If any of that comes back empty or wrong, the feed itself might be missing data your instructor never entered into the LMS calendar tool. That's a professor problem, not a Google problem, and it's a sign you might need to supplement with manual events for that one class.
Importing .ics and .csv Files: Steps and Formatting Rules
When your school doesn't offer a live feed, or you'd rather not deal with subscription refresh delays, importing a file is your next best option. Most student portals let you export your schedule from an "Export" or "Download to Calendar" button, usually tucked into the registration or schedule-viewing page.
Once you have the file downloaded, here's how to bring it into Google Calendar on desktop:
- Click the gear icon and open Settings.
- Select Import & export from the left menu.
- Click Select file from your computer and choose your .ics or .csv.
- Pick which calendar the events should land in from the dropdown.
- Click Import.
Google Calendar's import tool expects specific column headers if you're working with a CSV rather than an .ics file. Get these wrong and the import either fails or scrambles your event times:
- Subject — the event title (required)
- Start Date — required, formatted MM/DD/YYYY
- Start Time — 12-hour format with AM/PM
- End Date
- End Time
- Description
- Location
- All Day Event — True or False
Google only strictly requires the Subject and Start Date columns, but skipping the rest means losing detail you'll want later, like room numbers or start times. Some university systems, like the workflow NCSSM's IT department documented for exporting from Blackbaud SIS, walk students through this exact process step by step.
One thing to keep in mind: an import is a one-time copy, not a live connection. If your 9 a.m. lecture moves to 10 a.m. in week three, that change won't reach your calendar unless you re-import the whole file. Import into a dedicated "Classes" calendar rather than your main one, so if you need to delete and redo the whole batch after a schedule change, you're not hunting through personal events to find what to remove.
Building Recurring Class Events by Hand
Manual entry takes longer up front, but it's the most reliable option when you've got two or three classes, a schedule that changed last minute, or a school system that doesn't support feeds or clean exports at all.
Here's the sequence that gets you through an entire class list in under fifteen minutes:
- Click any empty slot on your Google Calendar to start a new event, or hit the Create button.
- Name it clearly. "BIO 201 Lecture" beats "Biology," especially once you've got six courses stacked in one week.
- Set the correct start and end time for that specific class meeting.
- Click into the recurrence dropdown and choose Custom.
- Select the exact days the class meets. Most schedules run Monday/Wednesday/Friday or Tuesday/Thursday, so check the right boxes rather than assuming "Weekly" covers it.
- Set the Ends field to your semester's last day of classes, not the day of finals. Leaving this open-ended means the event repeats forever.
- Add the building and room number to the Location field. If it's a Zoom or Google Meet class, drop the link here instead.
- Put your instructor's name, email, and office hours in the Description field so you're not digging through a syllabus PDF later.
- Save the event.
Once you've built one class this way, duplicating the pattern for the rest of your schedule goes faster. You can copy an existing event and just change the title, time, and days rather than starting from scratch each time.
If a class time shifts partway through the semester (a common occurrence with lab sections), click the event, choose to edit it, and Google will ask whether the change applies to "This event," "This and following events," or "All events." Pick "This and following events" for a permanent shift starting from a specific week, so you don't disturb the earlier weeks that were correct.

Manual entry makes the most sense when you're dealing with a light course load or a schedule your registrar changed after the feed or export already generated. Trying to manually re-create fifteen recurring blocks for a heavy semester, though, is exactly the kind of grind a feed or import should be handling instead.
Automation Options: Extensions, Scripts, and Spreadsheets
Some students skip manual entry entirely by using browser extensions or scripts that read schedule text and generate calendar events automatically. Tools built around this pattern, like the open-source ClassTrack project on GitHub, parse pasted schedule text or scan a registration page and create the recurring events for you, which saves the copy-paste grind of Method 3.
A Google Sheets and Apps Script combination works especially well for rotating timetables, the kind where "Day A" and "Day B" alternate rather than following a fixed weekly pattern. Rather than fighting Google Calendar's built-in recurrence rules to represent an irregular rotation, generating individual events from a spreadsheet row by row tends to produce a cleaner result.
A few habits matter here:
- Test any script or extension on a throwaway calendar first, not your main one, before running it against your real schedule.
- Check what permissions a browser extension requests. Anything asking for broad access to your Google account beyond calendar events deserves a second look.
- Keep your original schedule data (spreadsheet, PDF, or portal export) untouched as a backup before you run a bulk import script.
Pro Tip: If a script produces junk events, it's far faster to delete the whole test calendar and start over than to hunt down and fix each bad entry individually.
Reach for scripts or extensions when your schedule doesn't fit a normal weekly pattern. Otherwise, an official LMS feed remains simpler and needs no third-party permissions at all.
Keeping Your Semester Calendar Organized
A pile of thirty class events dumped into your main calendar becomes unreadable fast, especially once personal appointments and work shifts start mixing in. Creating a separate Classes calendar from the start solves most of this: click the plus icon next to "Other calendars," choose Create new calendar, and name it something obvious. Now you can toggle your entire class schedule on or off with one click, which matters during breaks when you don't want lecture blocks cluttering your view.

Color-coding by course, rather than by day or event type, makes scanning your week faster. Assign each class its own color from the event settings, and stick to muted tones. Bright red and neon green across a packed Tuesday become visually exhausting after the second week.
Notifications need different timing depending on what they're for:
- On-campus lectures: 10 to 15 minutes before, enough time to walk across campus.
- Online or Zoom classes: set a reminder around 5 minutes before, since there's no travel buffer.
- Exams: a 24-hour heads-up in addition to a same-day reminder, so you're not caught off guard by a test you forgot to study for.
On mobile, open your Calendar app's settings and confirm the "Classes" calendar toggle is switched on. It's easy to forget this step after installing the app on a new phone, and a class calendar that's technically synced but invisible on your home screen defeats the purpose.
Pro Tip: Share your Classes calendar with a study group by clicking the three-dot menu next to the calendar name, choosing "Settings and sharing," and adding classmates' emails under "Share with specific people." This works well for comparing free periods when scheduling group project meetings.
Fixing Common Schedule Sync Problems
Most calendar headaches trace back to one of four issues, and each has a quick fix.
- Events repeating past the semester: open the event, click into recurrence settings, and set an explicit Ends date. This is the single most common mistake with manual entries.
- Missing class days: if your Tuesday/Thursday class only shows up on Tuesday, the recurrence pattern was likely set to "Weekly" on one day instead of "Custom" with both days checked. Edit the recurrence and reselect both days.
- Duplicate events: if you subscribed to a feed and also imported a file for the same class, you'll see doubles. Delete one version, working from a test calendar first if you're not sure which events are safe to remove.
- Time zone shifts: if events suddenly appear an hour off, check your Google Calendar time zone setting under Settings > Time zone, especially if you traveled or your device auto-adjusted incorrectly.
If a subscribed feed hasn't updated in days despite a known schedule change, first confirm the LMS itself reflects the update. If it does but Google hasn't caught up, remove the calendar subscription and re-add the same URL to force a fresh pull.
Before your first day of classes, run through this: verify every room number, confirm start times match your official schedule, and make sure reminders are actually turned on, not just scheduled.
Why Semesterflow Handles This Faster Than Any Manual Method
Semesterflow removes every step above. Upload your syllabus, and its AI extracts your class times, assignments, and exam dates, then syncs them straight to Google Calendar automatically.
- No copying feed URLs or formatting CSV headers.
- Assignment due dates sync alongside class times, not just lecture blocks.
- Built-in GPA tracking flags classes trending toward trouble before it's too late.
Before connecting any third-party tool to your calendar, check what data it accesses, confirm it exports in standard formats, and spot-check the first week against your actual syllabus.
A compact weekly routine worth stealing
Sunday nights, I check my LMS feed for changes, confirm the right calendars are visible, and add ten-minute buffers between back-to-back classes. Keep academic and personal calendars separate. Mixing them turns a clean system messy fast.
— Haden
Skip the Manual Setup Entirely With Semesterflow
Every method above works, but they all cost you time: hunting for feed URLs, formatting CSV headers, or typing recurrence rules for six different classes. Semesterflow cuts that down to one action. Upload your syllabus, and it extracts your class schedule, assignment deadlines, and exam dates, then pushes them straight into Google Calendar without you touching a recurrence setting.
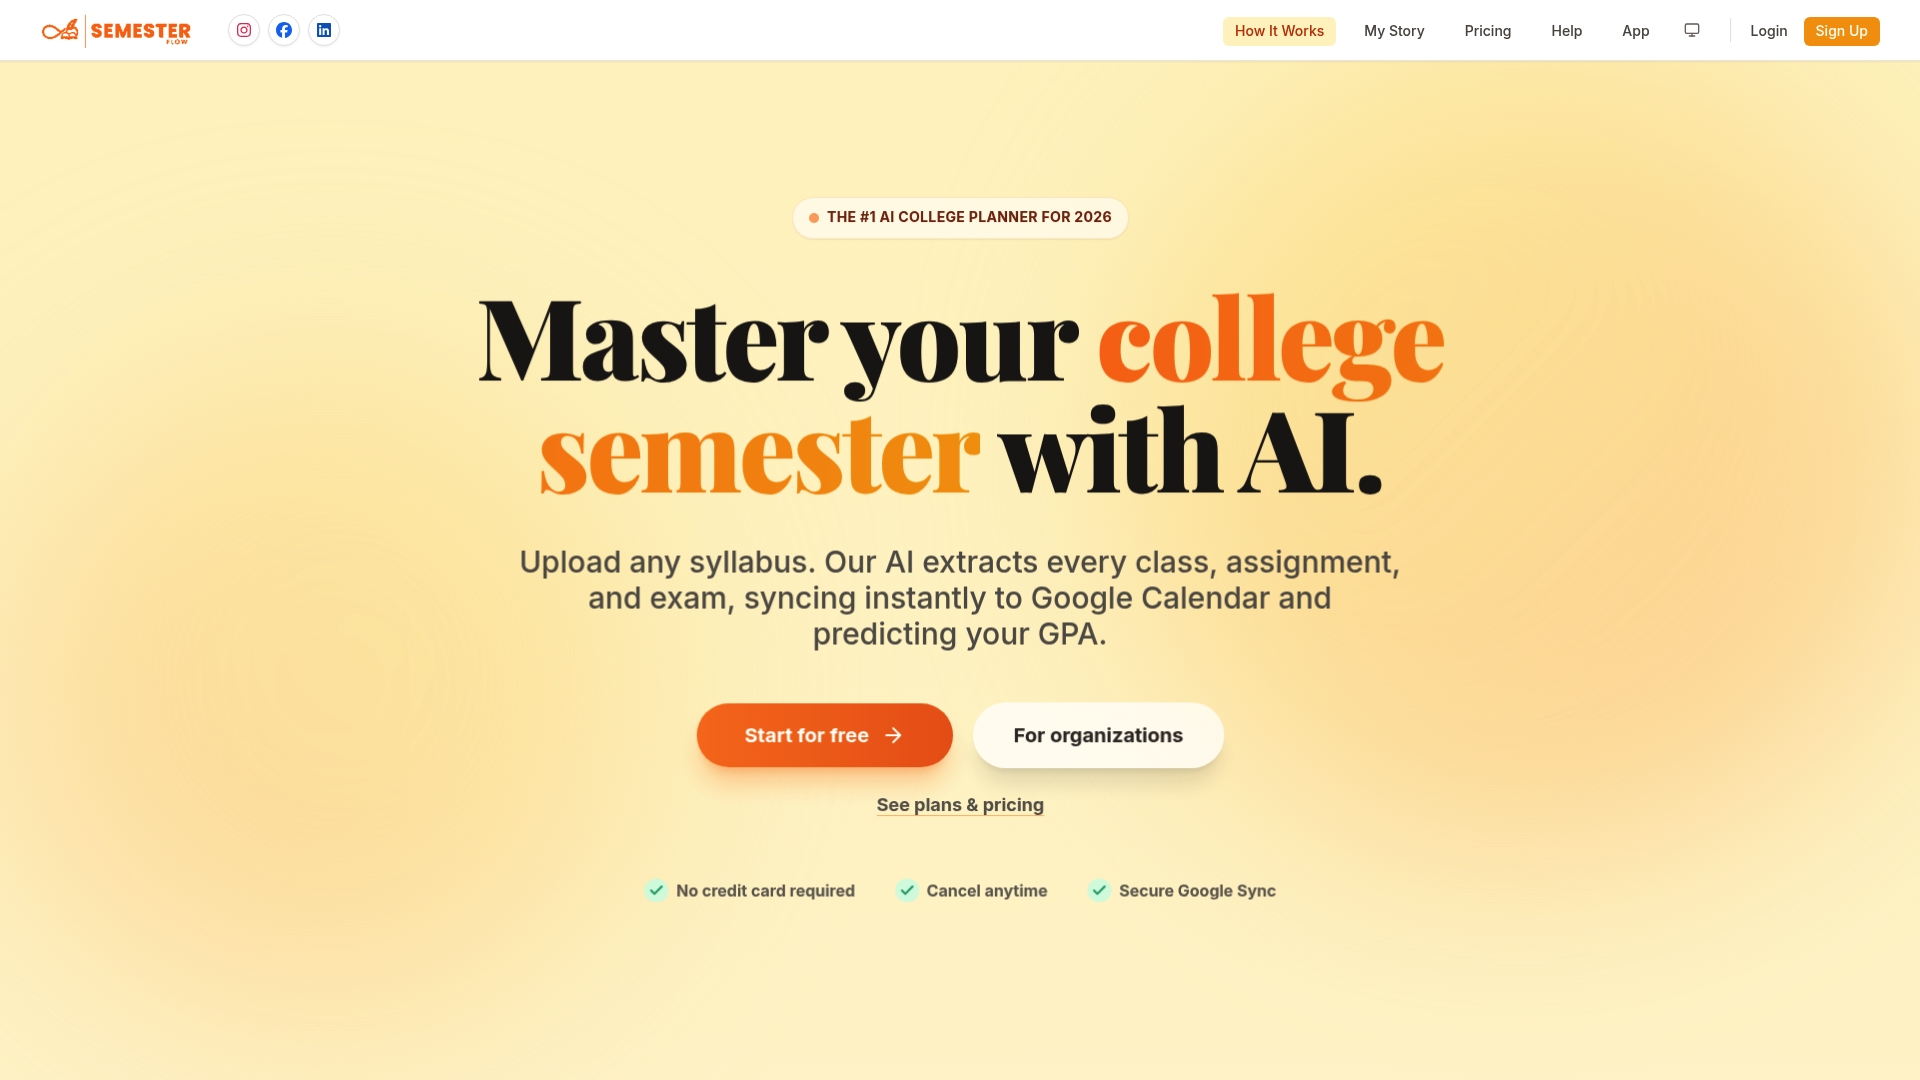
It also does something none of the manual methods can: it tracks your grade trends alongside your schedule, flagging a class before a slipping average turns into a real problem. If you're a student who wants your semester scheduled correctly without spending an evening on setup, start with your syllabus at Semesterflow and let the sync happen automatically from there.